Print Candee Tutorial
Hi everyone,

Today I am sharing with you a tutorial on how to make this cute little gift box – all the papers are digital papers from Print Candee. If you haven’t checked out the store yet, you should do so as they have hundreds of digital images and papers to choose from.
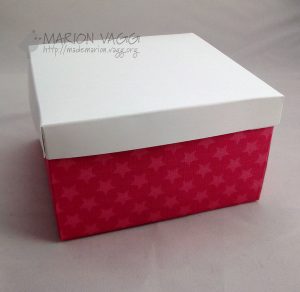
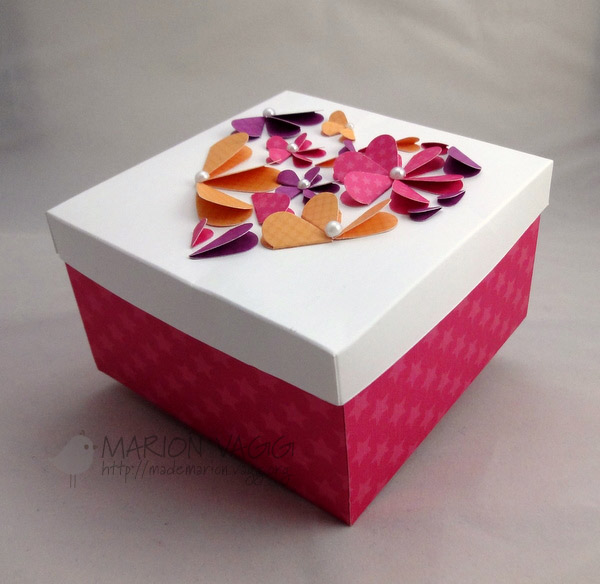
Firstly, here is the finished box. I am entering this into the current Wee Memories Challenge #75 – to make Home-made gifts, tags and boxes.
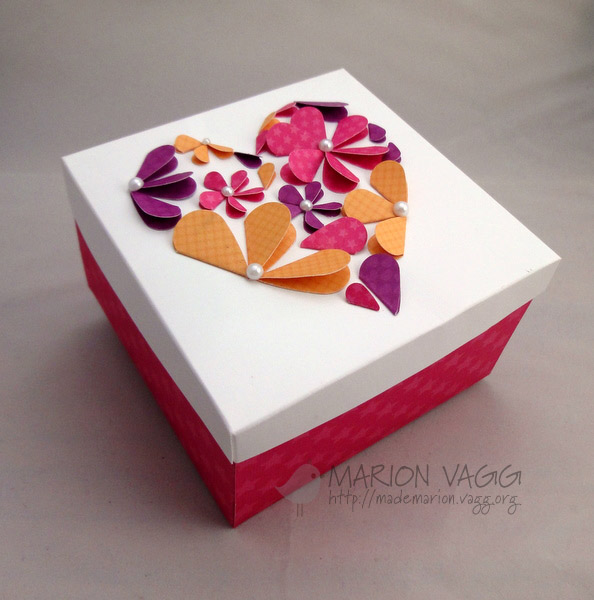
My inspiration for the top of the box came from this beautiful heart that I came across on Pinterest which lead me to the original post here. The template for the box came from here – but I modified the dimensions for the top of the box to make a more snuggy fit.
Let’s begin.
1. To make the box, I printed off the pink star digital paper from the Owlicious (Happy Colors) Paper Pack onto some pink bazzill cardstock and cut it into a 9 and 1/8 inch square. The lid of the box was white card stock cut to a 5 and 5/8 inch square (this is slightly different from the template – this is the bit I modified).
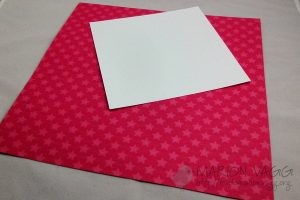
2. I then scored lines onto the box base at 2 and 1/2 inches on all 4 sides. To form tabs on the box to be glued, I cut along one of the score lines in each corner. Refer to the cross on the template.
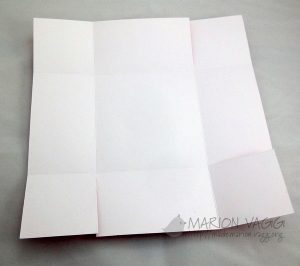
3. Using adhesive I glued to tabs to form a box.

4. I did exactly the same as the above to form the box lid but I scored at 5/8 of an inch on all 4 sides before cutting along a score line in each corner to form a tab.

5. And what you should end up with is a box that has a lid that fits nice and snug.
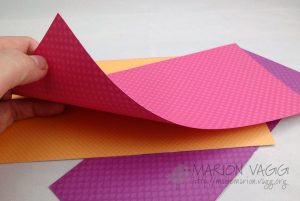
6. I then printed off 3 more patterned papers from the same Owlicious (Happy Colors) Paper Pack onto white card stock, but made sure that I printed the pattern on both sides. Make sure the ink on the card stock has dried before printing on the other side.
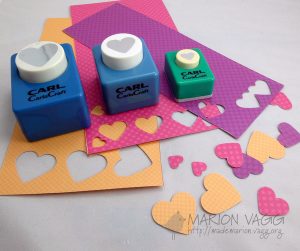
7. Using my Craft heart punches, I cut various hearts from the 3 double sided patterned papers that I had printed off.
8. Using a scoring bone, I folded each heart in half (yes, the small hearts were fiddly!)

9. Using a piece of scrap paper (which was cut to the size of the lid of the box), I drew a heart shape and cut it out. (I folded the paper in half to make sure that the heart shape was symmetrical).

10. This template became my guide for placing the folded heart punched out shapes onto the box lid. I temporarily adhered it and removed it when I was done. I glued down the flowers as I went.

11. And kept going till I was happy with the results. I added some pearls as a finishing touch.
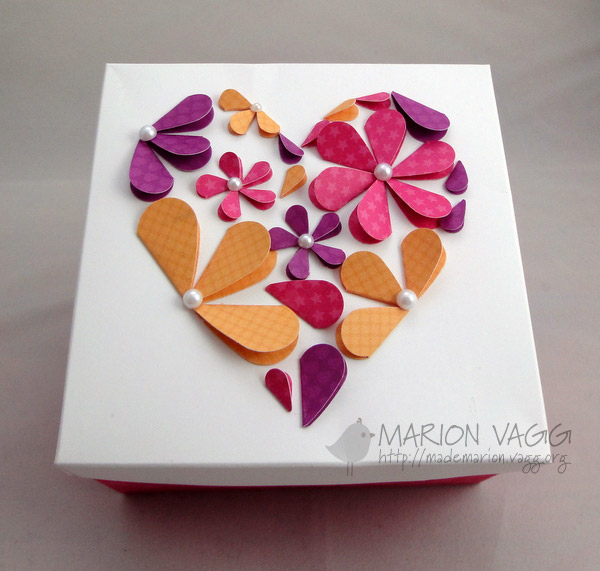
And there you have it.
Supplies:
Digital Images/Stamps: Owlicious (Happy Colors) Paper Pack
Ink: Canon colour printer
Card: White card stock, Pink Bazzill
Other Supplies: Kaisercraft pearls – snow, Karl Craft punch – Hearts – 3 sizes, Martha Stewart score board
Thanks for sticking with me. Be sure to head on over to the Print Candee store and have a browse around. The amount of projects that can be created from these products are endless!
![]()

