Congratulations – Jane’s Doodles

Jane's Doodle Banner

Hi there. I’m getting a little bit slack posting to my blog of late. I’m an Instagram girl (@mademarionstudio) as I find it quick and easy. Most of my cards end up over there, as well as other bits and bobs, so feel free to follow if you don’t already.

I am posting a card for Jane’s Doodles which was up on her blog over a week ago. Head here to see that post.

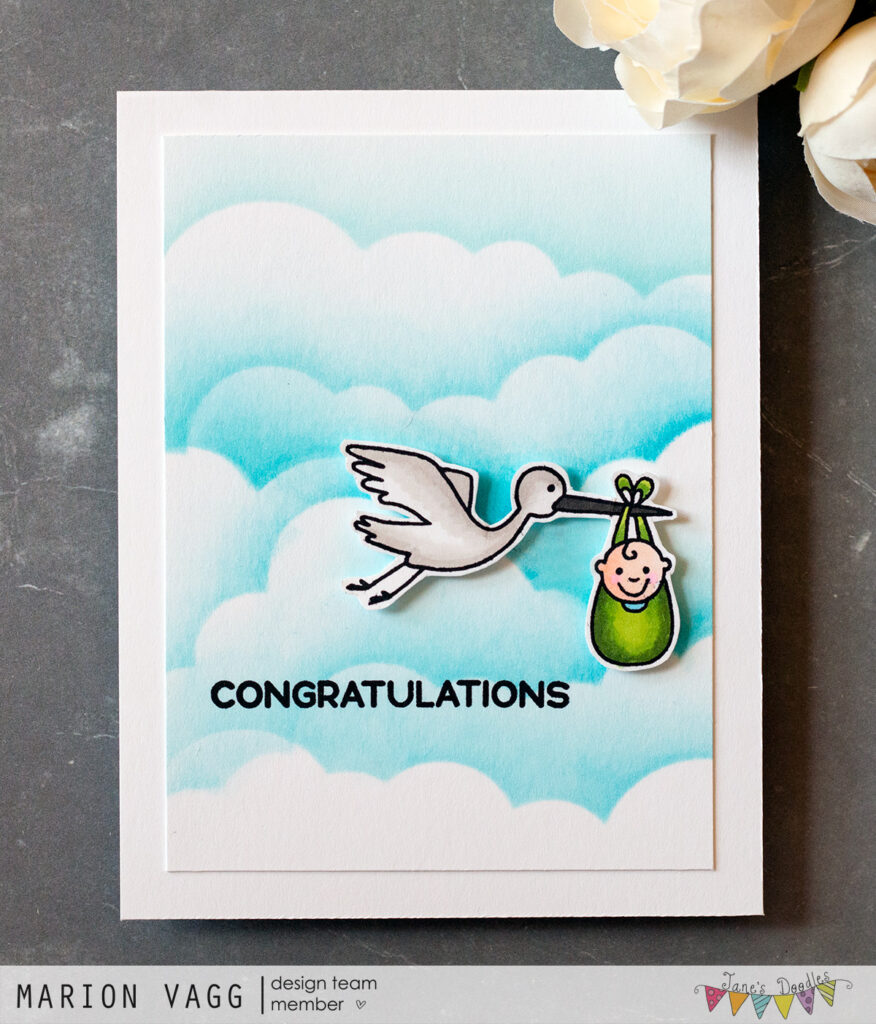
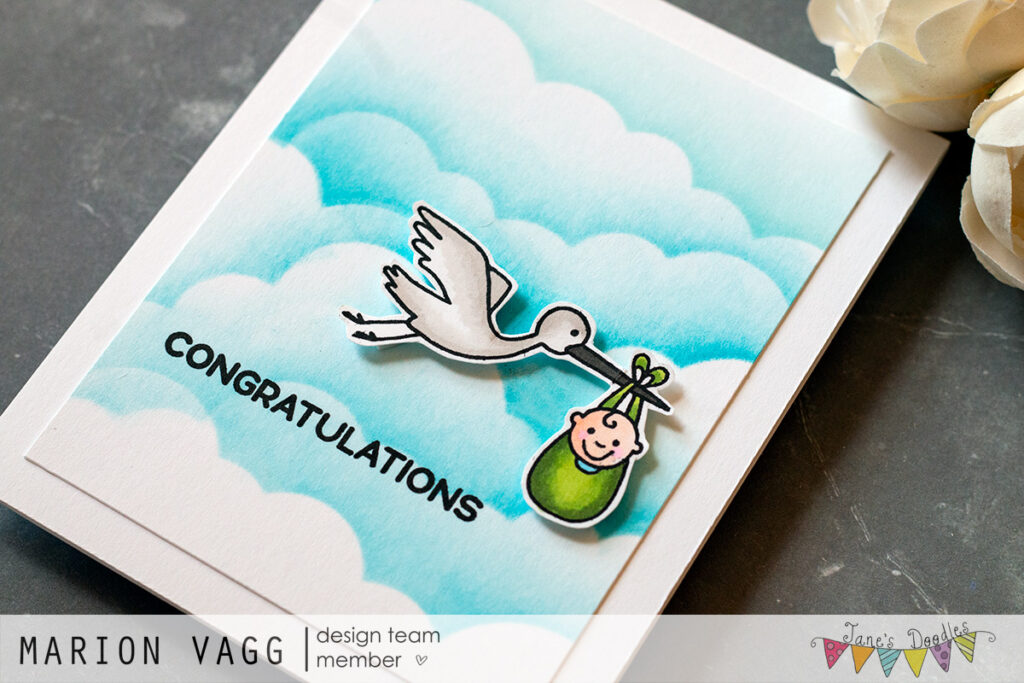
I used the Special Delivery stamp set (stork and baby) and coloured them with Copics. The sentiment is from the All Occasions stamp set.

To create the cloud background, I used this Cloud Stencil from My Favorite Things and some Distress Oxide ink.

If you have any questions, just contact me and I’d be happy to help.

Thanks for stopping by,

Marion
Read More

Jane’s Doodles – Celebrate

Jane's Doodle Banner

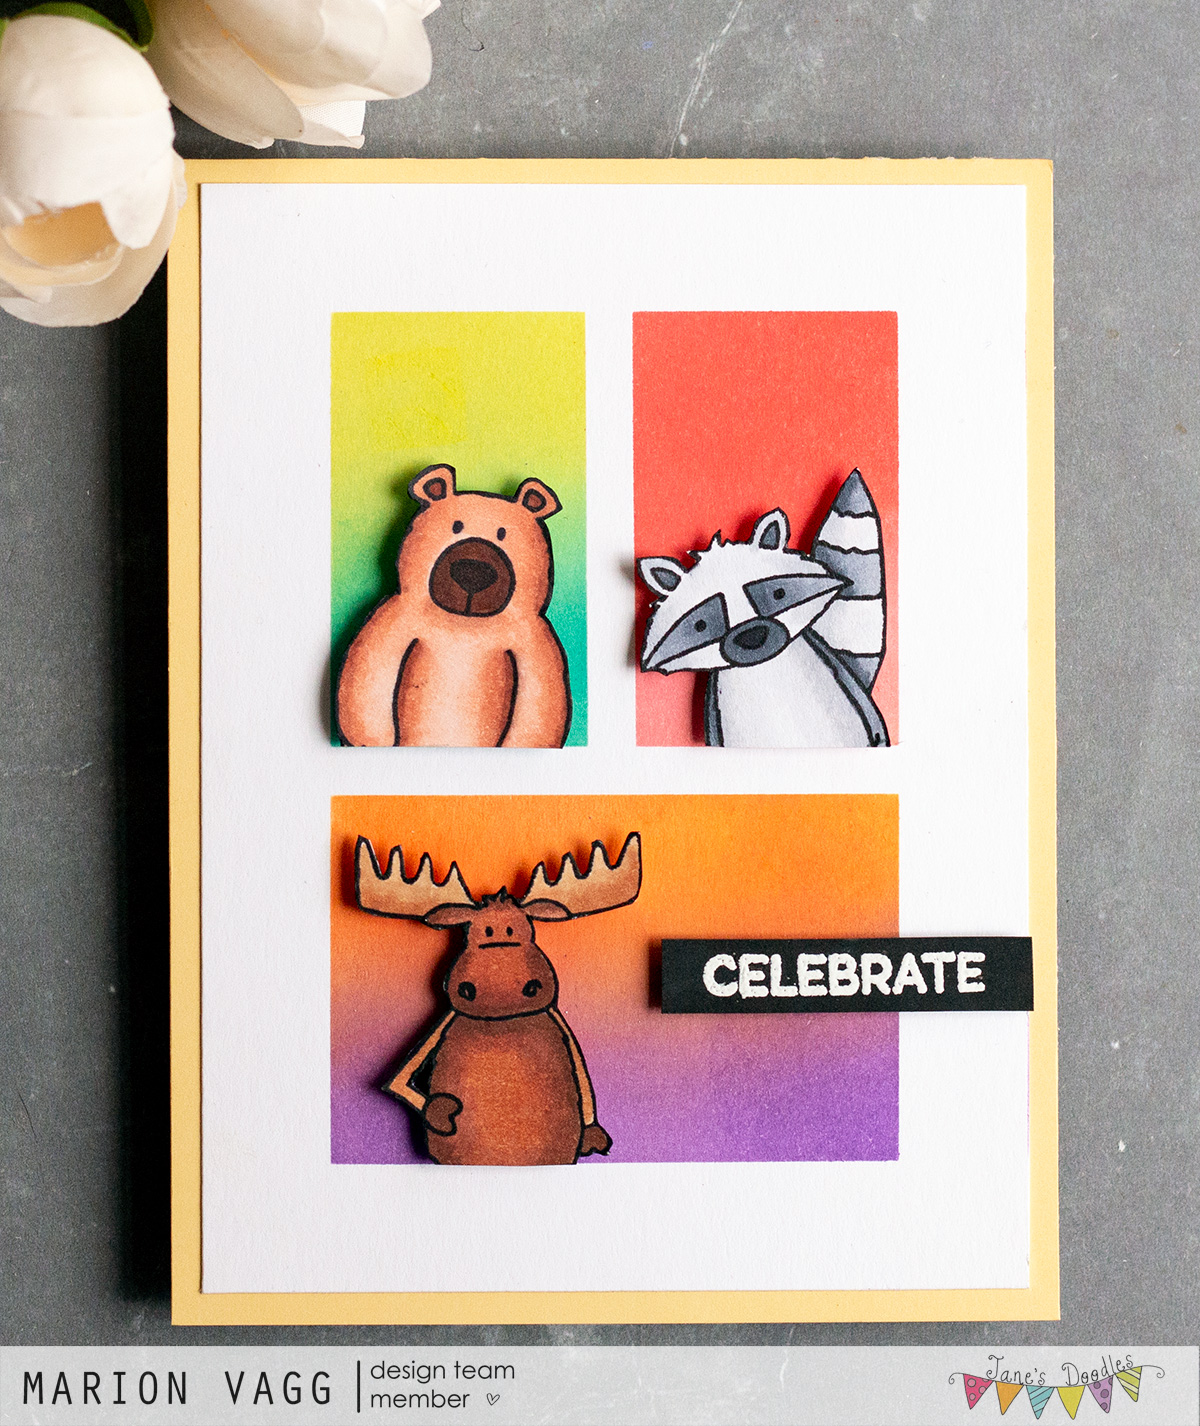
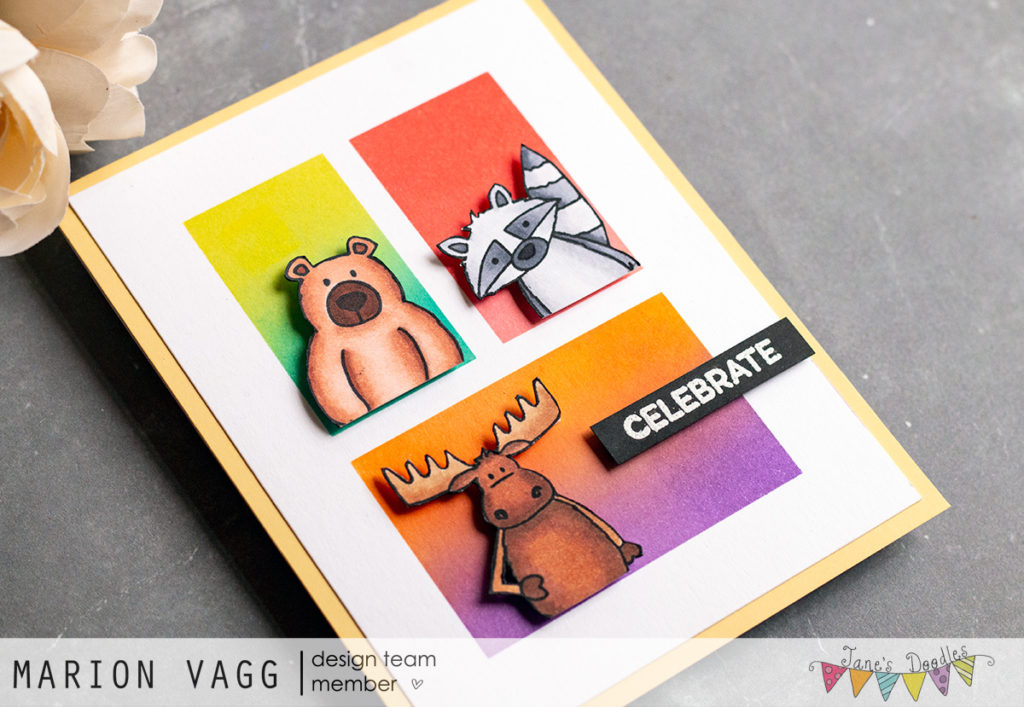
Hi there! I have a really fun card to share with you using Jane’s Doodles stamps. This card has been CASED from a super cute card made by Vanessa Menhorn – and she kindly allowed me to borrow her design. You can find her amazing card and blog here.

I masked off the background with some washi tape and used several Distress Oxide ink combinations to ink up the 3 rectangles. I then stamped the three critters from the Outdoors set and coloured them with Copics. I then trimmed them off in the right places before foam mounting them onto the background. The sentiment is from the All Occasions stamp set.

Such a cute design and I want to thank Vanessa for allowing me to use it. Be sure to check out her blog and her other amazing cards.

If you want to know anything about any of my cards, just contact me through the email icon on my blog.

Thanks for stopping by. Until next time,

Marion
Read More

Congrats – Penny Black Dreaming Inspiration #4

This image has an empty alt attribute; its file name is penny-black-dreaming-june-2019.jpg

Hello! I’m back again with some more Penny Black goodness from the Dreaming release.

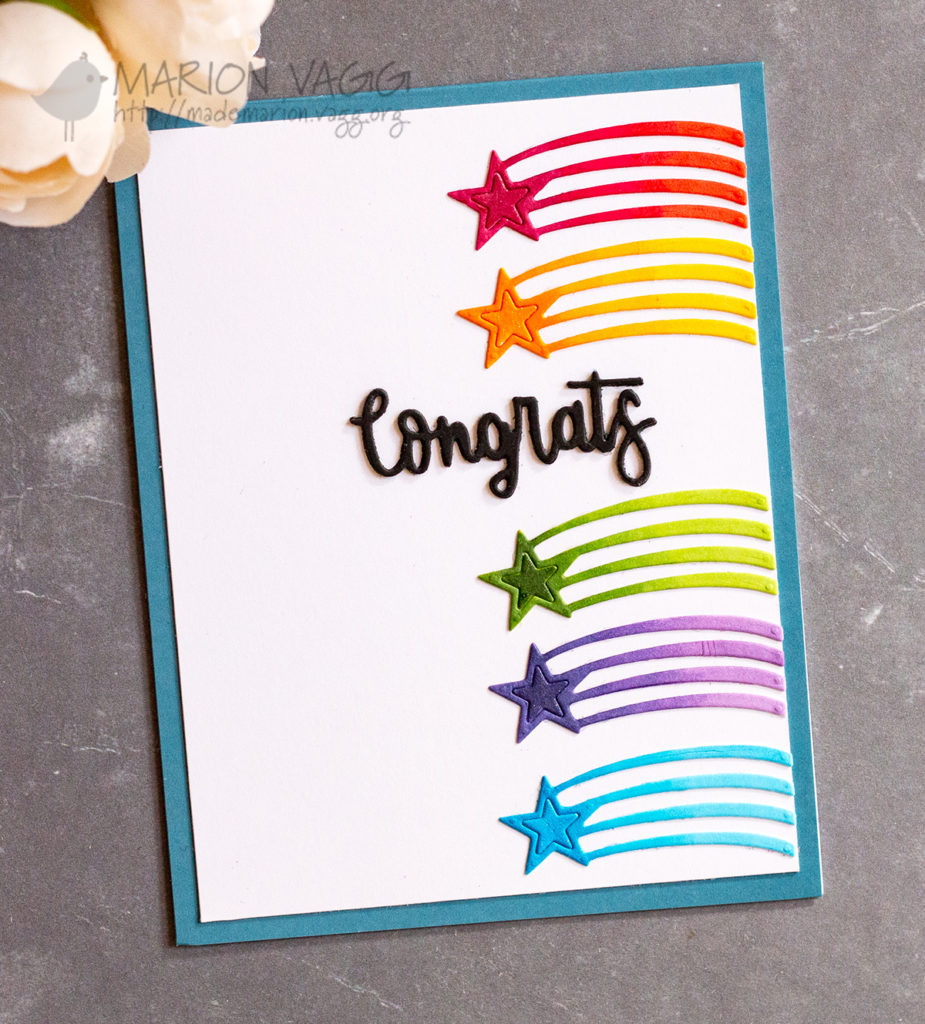
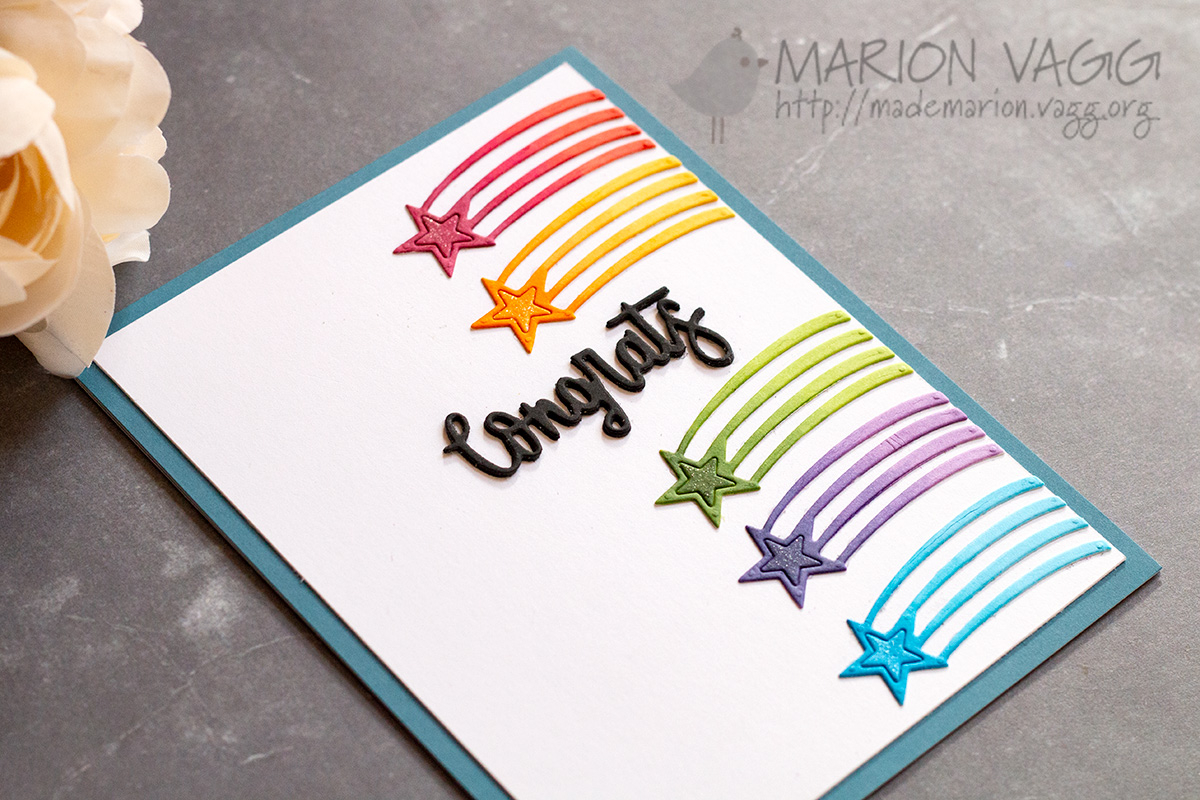
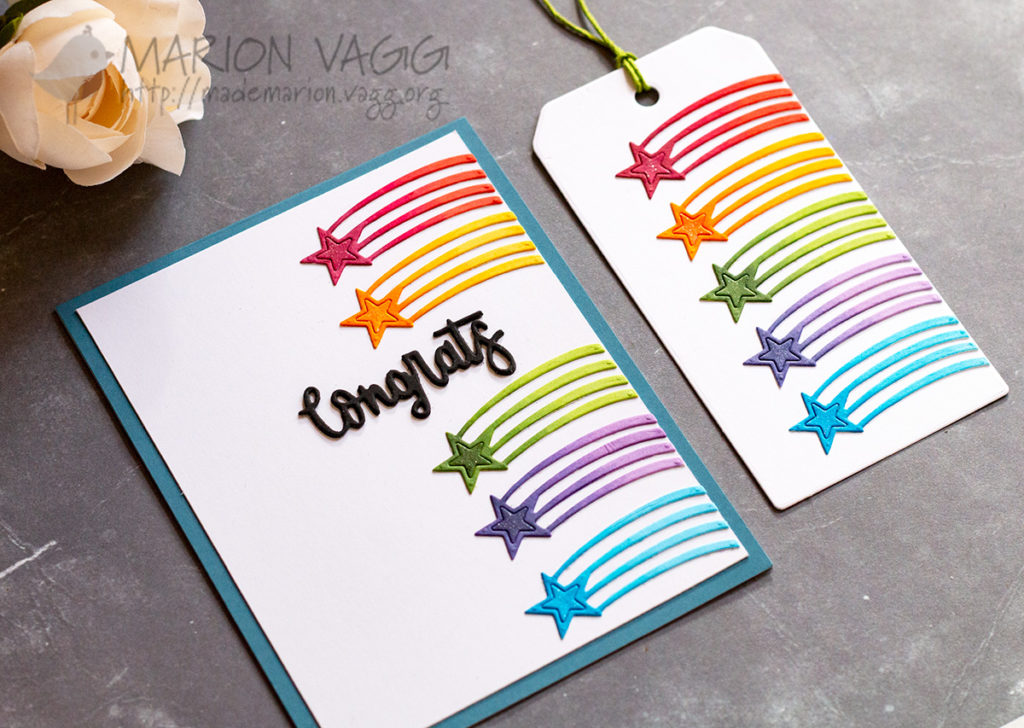
Today’s card is a simple one – just dies and Copic markers! I used the You’re a Star creative die and die cut it several times. I then coloured in each star with Copic markers. I could have die cut the stars from coloured cardstock, but I wanted to add some shading and Copics allowed me to do that. The sentiment is from the Number 1 cut out creative die set (from the previous release). I created a thicker sentiment by adhering several black die cuts together.

I also created a matching tag. Hopefully you can see the shimmer I added onto the stars.

Thanks for stopping by. To view and or purchase any of these new products from the Dreaming release, head to the Penny Black online store.

If you have any questions, just contact me. Thanks for stopping by,

Marion
Read More

Happy Anniversary Birds – Penny Black

simplicity sister

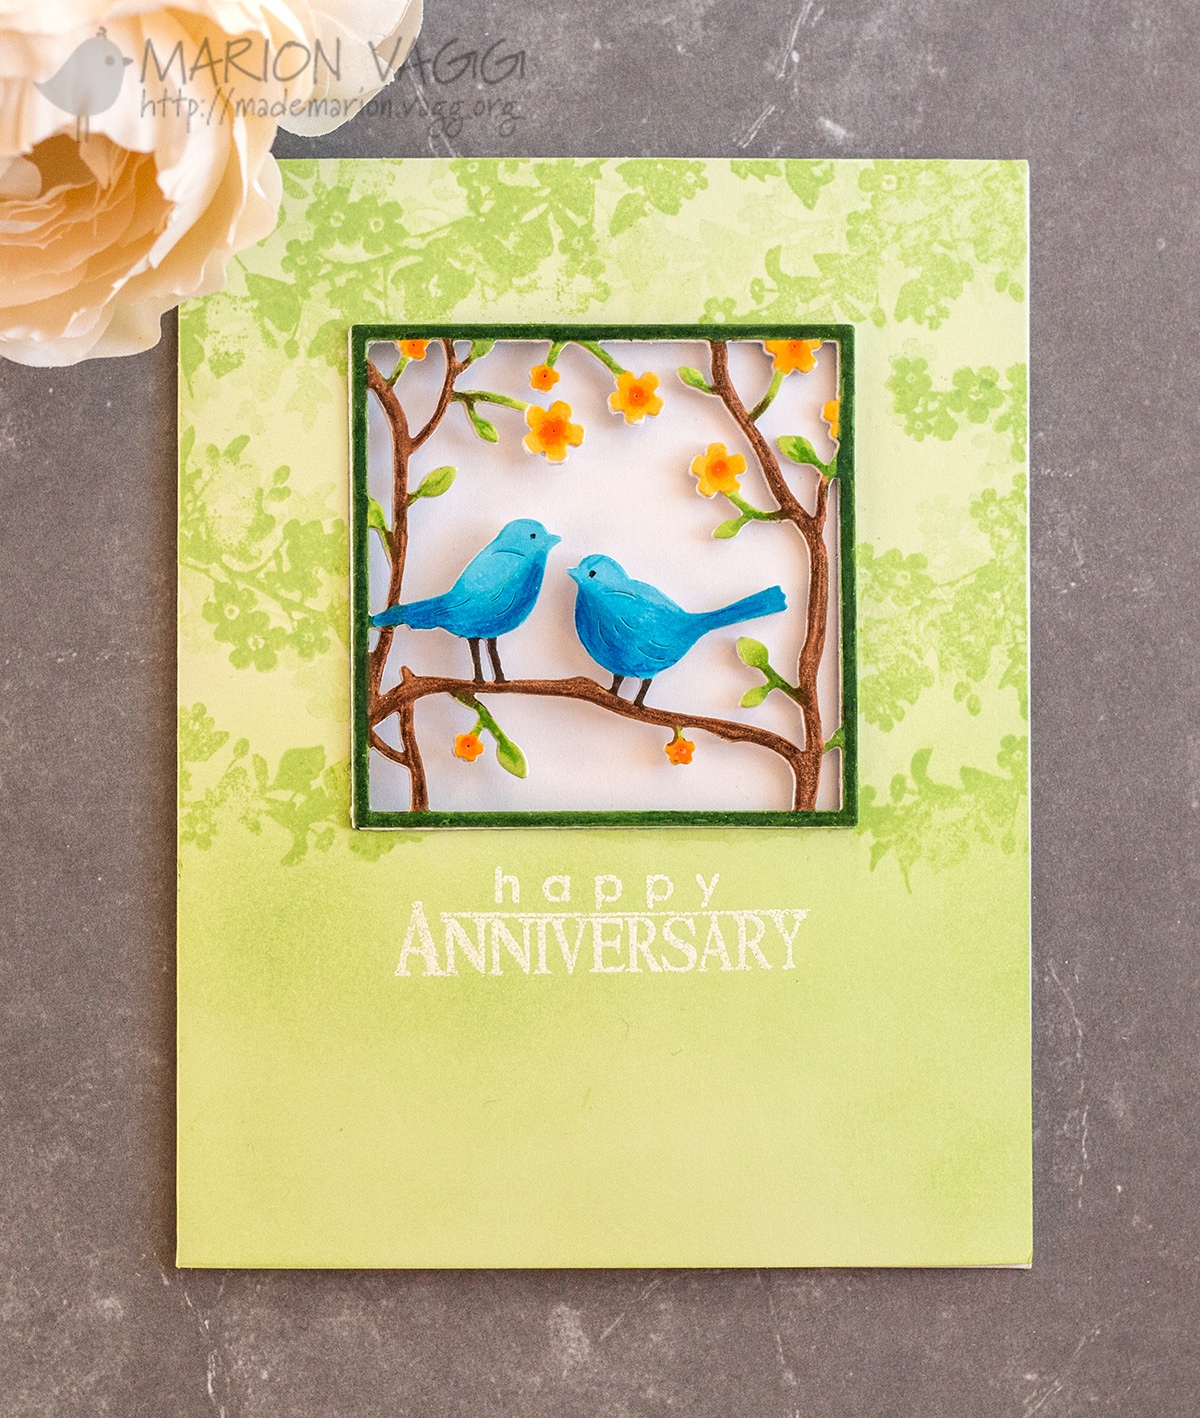
Today I have a special anniversary card that I made for my Aunt and Uncle who have just celebrated their 50th Wedding Anniversary. Such a special milestone to celebrate, and I love how this window card turned out.

I die cut several layers (five I think) of the Penny Black layered scene from white card stock and adhered them together. Before adhering the top layer, I coloured it with a mixture of Copics and Prismacolor pencils.

I stamped some very subtle leaves from the Penny Black You + Me stamp set in green ink (first and second generation stamping) onto a green card base to add some interest.

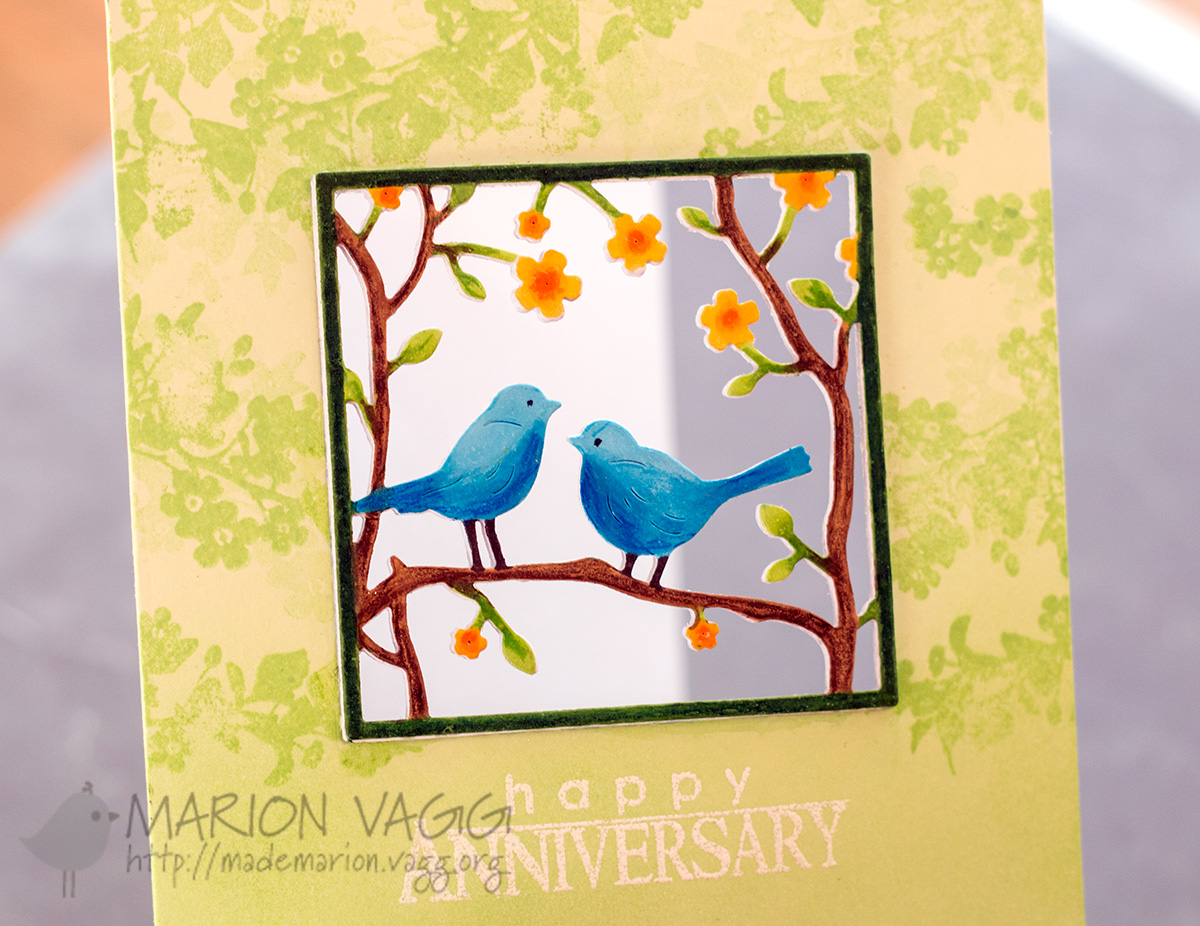
I then used the same die cut and created a window in the front of my card and adhered the bird scene into the window. I did this by adhering it with a small amount of washi tape, that is visible on the back side of the window, but it did the trick of securing the window in place.

The sentiment is from the same set as the leaves and was white heat embossed. I felt the sentiment wasn’t visible enough, so I blended in some green ink over the sentiment and on the bottom half of the card.
This photo shows the window element of the card better.
Penny Black products used:
Penny Black 51-232 Layered Scene Creative Die
Penny Black 30-285 You + Me Stamp set

Supplies

Stamps: Penny Black You + Me stamp set

Card: X-Press It blending card, Hero Arts Green Layering papers

Ink: Versamark ink, Hero Arts Green Hills ink

Other Supplies: Penny Black Layered Scene Creative die, Cuttlebug, Copic markers, Prismacolor pencils, White embossing powder, Heat tool, Washi tape, Liquid adhesive, Ink blending tool

I hope you are having a wonderful day.
Thanks for stopping by,

Marion

Save

Save

Save

Read More

Jane’s Doodles Blog Hop

Jane's Doodle Banner

Hello hello. Today is the release blog hop for Jane’s Doodles Stamps. You should have arrived from Zrinka’s blog. If you get lost along the way, there is a blog hop order at the end of my post that should point you in the right direction.

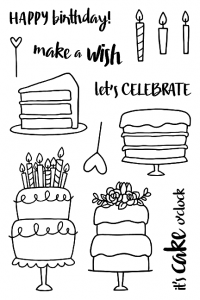
Today we are showcasing the latest stamp set to the store called Cake!

Cake!
Jane's Doodles cake

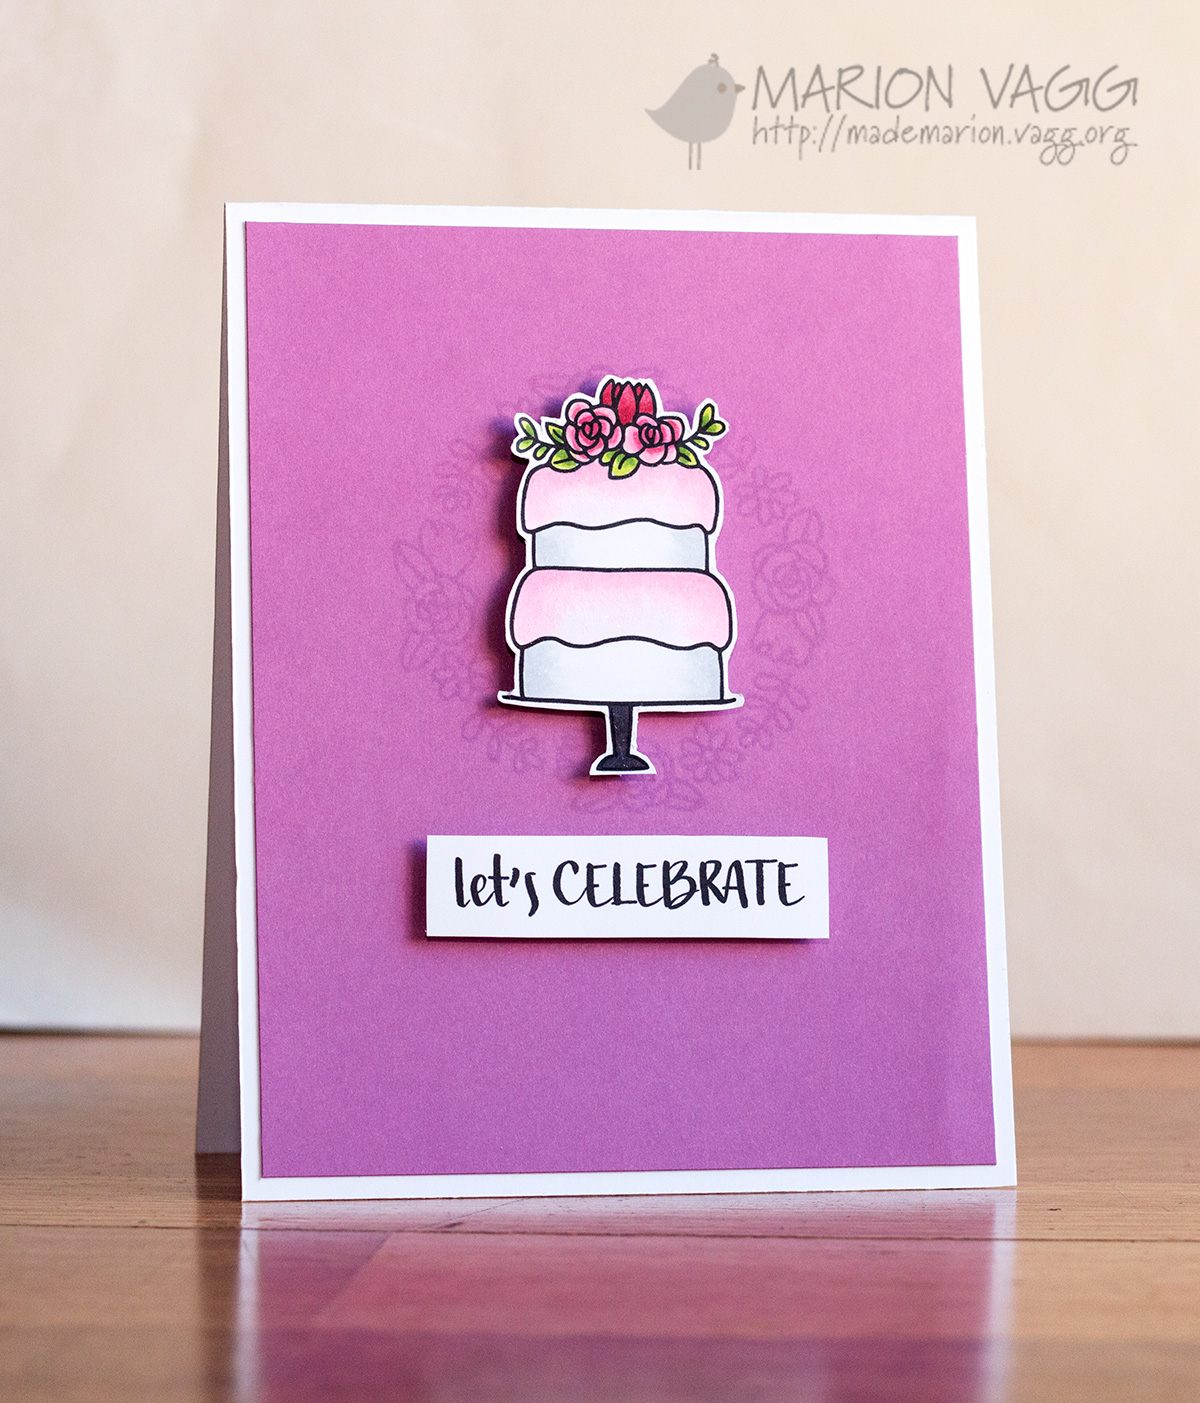
I coloured the cake with Copic markers and then fussy cut around the image. I stamped the floral wreath from the Mom stamp set in a light lavender ink onto the card base. In hindsight, I would have used a darker shade of purple as it dried a lot lighter than it stamped – but subtle is good sometimes.

JD Let's Celebrate | Marion Vagg

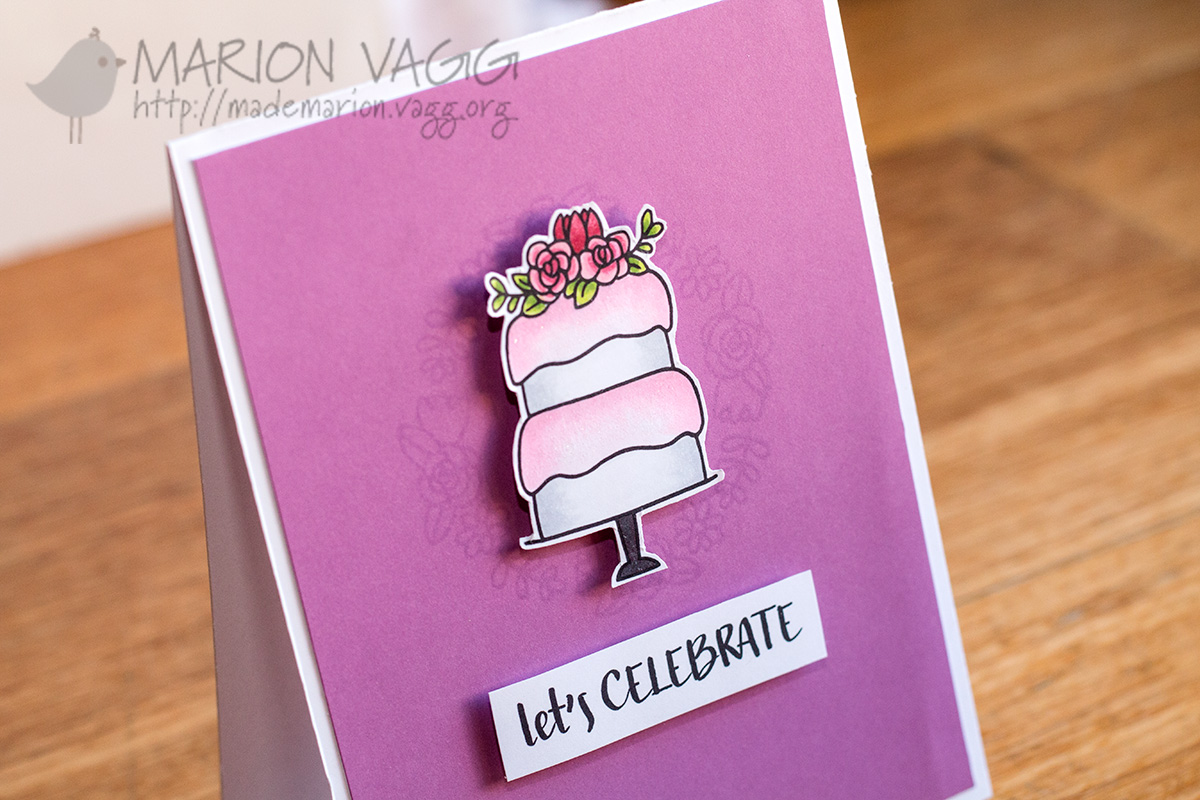
It’s hard to tell, but the icing on the cake has a lovely layer of clear Wink of Stella. Very pretty in real life.

JD Let's celebrate detail | Marion Vagg

GIVEAWAY:
Jane is generously giving one stamp set of your choice from the store to one lucky winner. Just leave a comment on all the blogs along the hop for your chance to win. In addition to this, there is 20% sale on all stamps in the store this Mother’s Day weekend. The winner will be announced on Monday.

Blog Hop order:
Jane
Vesna
Zrinka
Marion <–You are here
Milka
Neha
Vika
Jane’s Doodles

Supplies

Stamps: Jane’s Doodles Cake! stamp set, Jane’s Doodles Mom stamp set

Card: X-Press It Blending card, Hero Arts Iris card stock

Ink: Memento – Tuxedo Black and Lulu Lavender ink, VersaFine Onyx Black

Other Supplies: Copic markers, Foam dimensionals, Wink of Stella Glitter brush pen – clear

Thanks so much for stopping by. Your next stop on the hop is Milka‘s blog.

Marion

Read More