Happy Anniversary – Penny Black

simplicity sister

Hello. I hope you are having a relaxed weekend. Today I have a Penny Black card to share with you. This card uses a very different colour scheme to my usual go-to-bright-and-happy-colours, but it is good to stretch oneself and try something new.
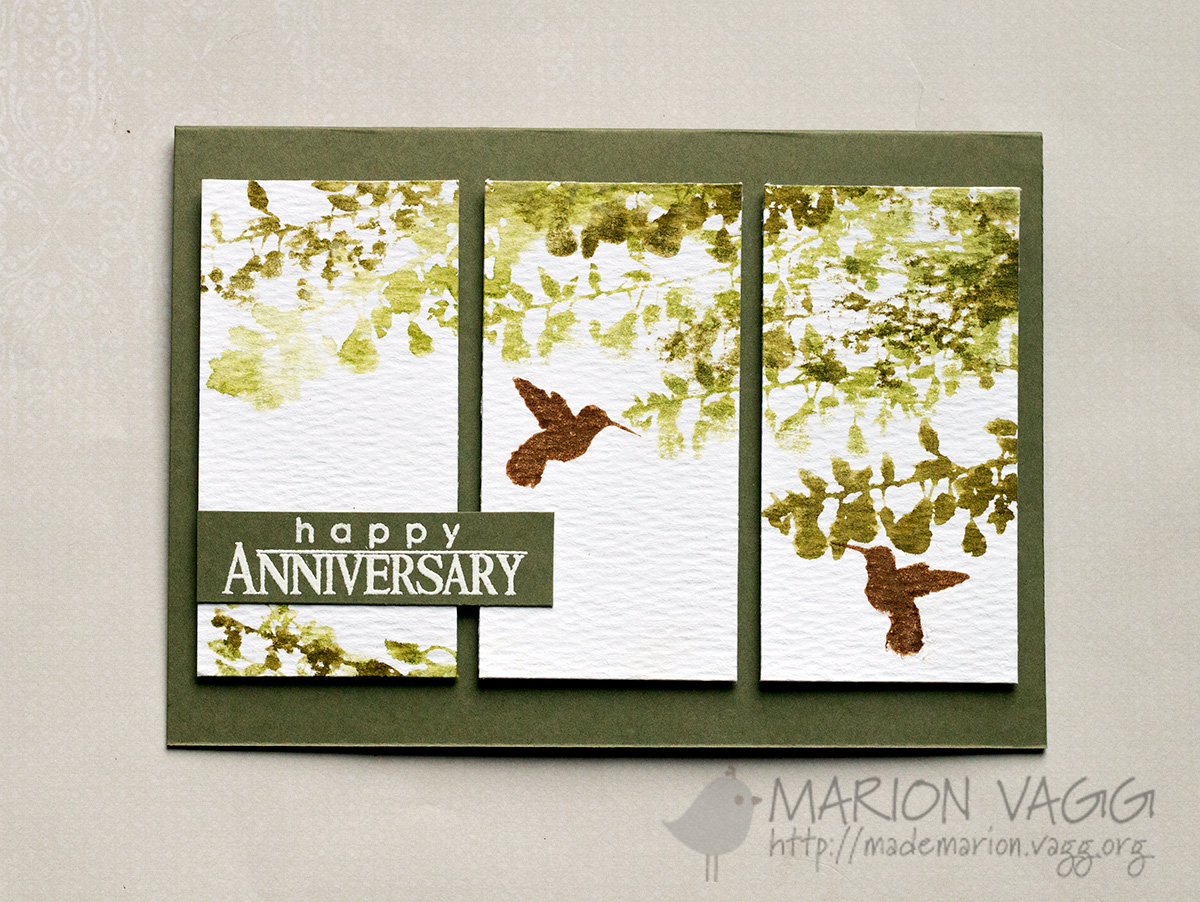
 

PB Happy Anniversary | Marion Vagg

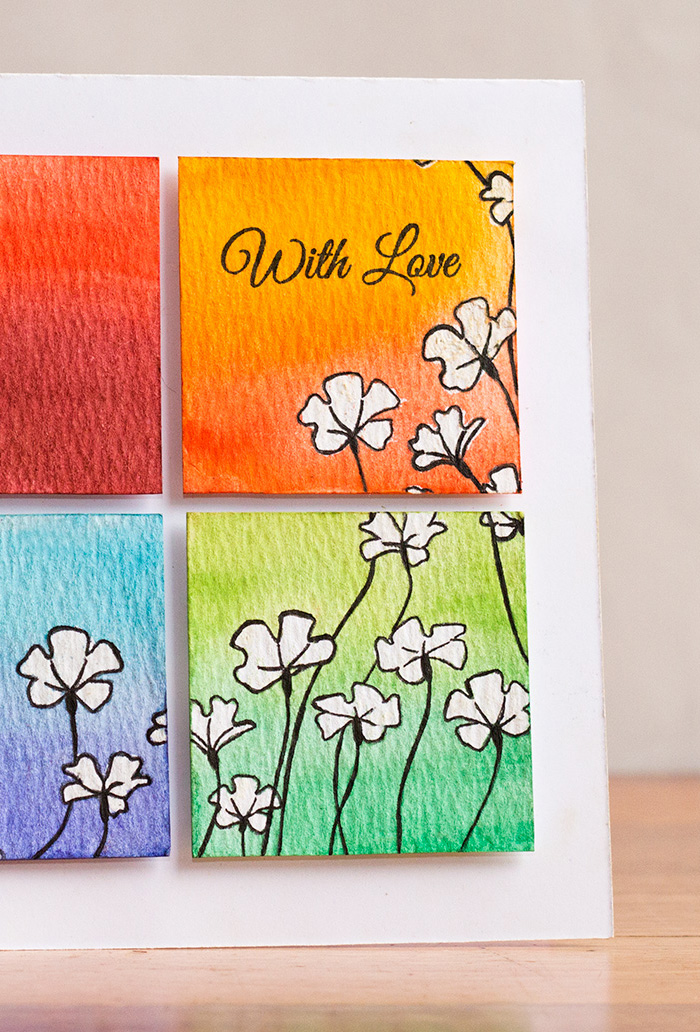
I inked up the Penny Black You + Me stamp set with Distress ink. I then stamped the image off onto a scrap piece of paper before spritzing it with some water and stamping onto my watercolour panel. I used two shades of green distress ink (Peeled Paint, Forest Moss). I hit it with my heat gun after each stamping to ensure the watercolour didn’t run. The birds were stamped with Vintage Photo distress ink. Once dry, I then cut the panel into three equal segments before mounting them into a khaki card base.
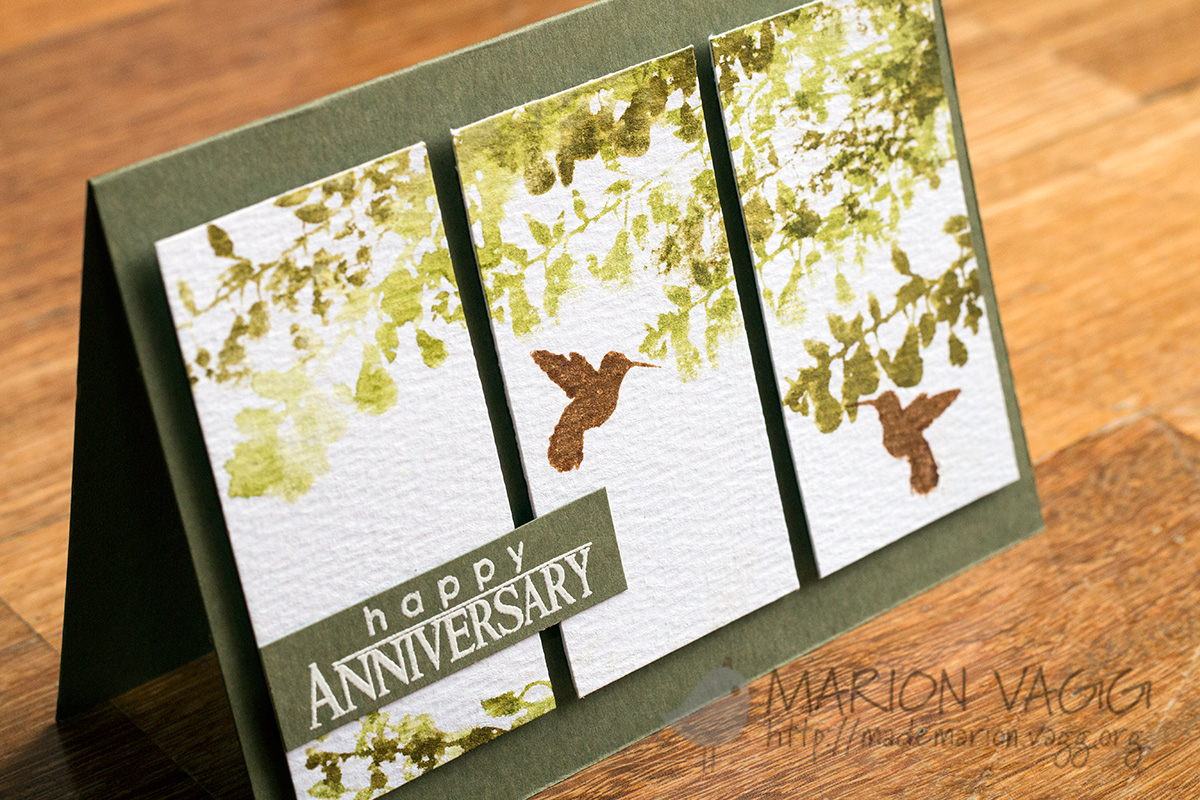
PB Happy Anniversary detil | Marion Vagg

Penny Black products used:
You + Me stamp set

Supplies

Stamps: Penny Black You + Me stamp set

Card: Tim Holtz Watercolor card stock, SSS Khaki card stock

Ink: Distress Ink – Forest Moss, Vintage Photo, Peeled Paint, Versamark ink

Other Supplies: Foam dimensionals, Hero Arts white embossing powder, heat tool, water sprayer

Thanks for visiting today,

Marion

Read More

Celebrate – Jane’s Doodles

Jane's Doodle Banner

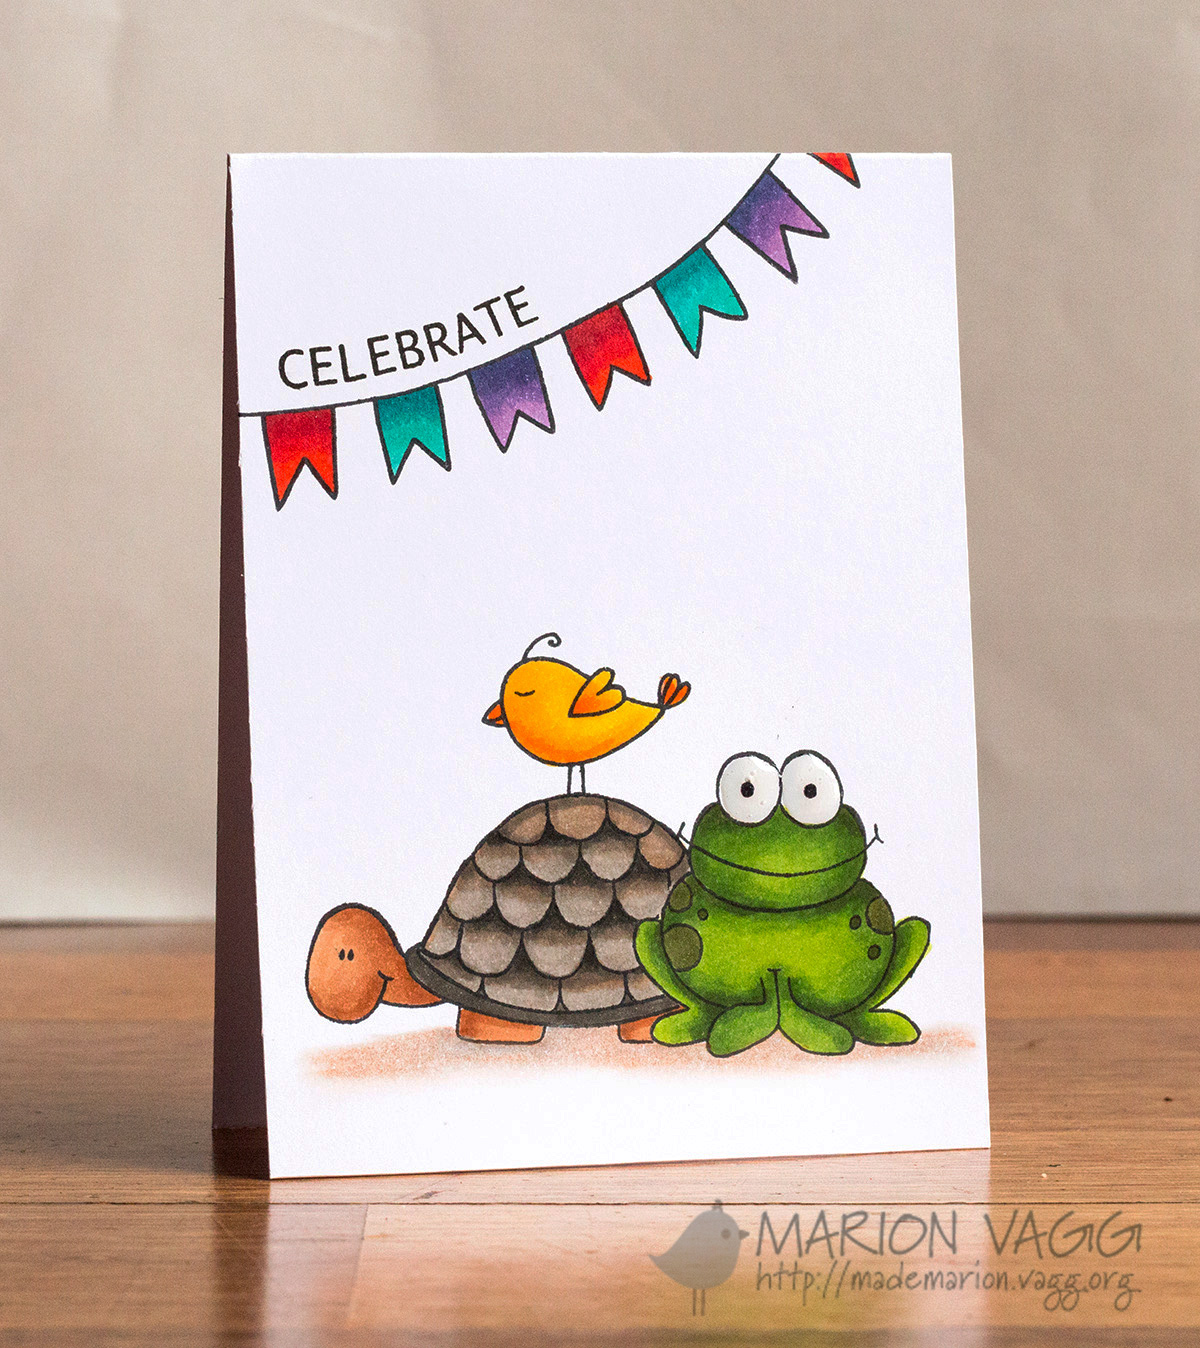
I have another Jane’s Doodles card to share with you today using several sets – Love Birds, Garden Friends and Cheers stamp sets. I felt like making a one layer card and thankfully it worked out first go (this rarely is the case with me!) All coloured with Copic Markers.

JD Celebrate | Marion Vagg

Supplies

Stamps: Jane’s Doodles Love Bird stamp set, Jane’s Doodles Garden Friends stamp set, Jane’s Doodles Cheers stamp set

Card: X-Press It Blending card

Ink: Memento – Tuxedo Black ink

Other Supplies: Copic Markers, Wink of Stella clear glitter brush pen, Glossy Accents

Cute don’t ya think? Thanks for visiting,

Marion

Read More

I Love You – Sunny Studio

Hello! How has your week been? School started back this week. Can’t believe my kiddos are in Yr 1 and Yr 4.  I’m also back in the classroom. I have a lovely class and am excited about the new year ahead – although I need a few more hours in the day to get everything done. Too much to do, not enough time. Can you relate?

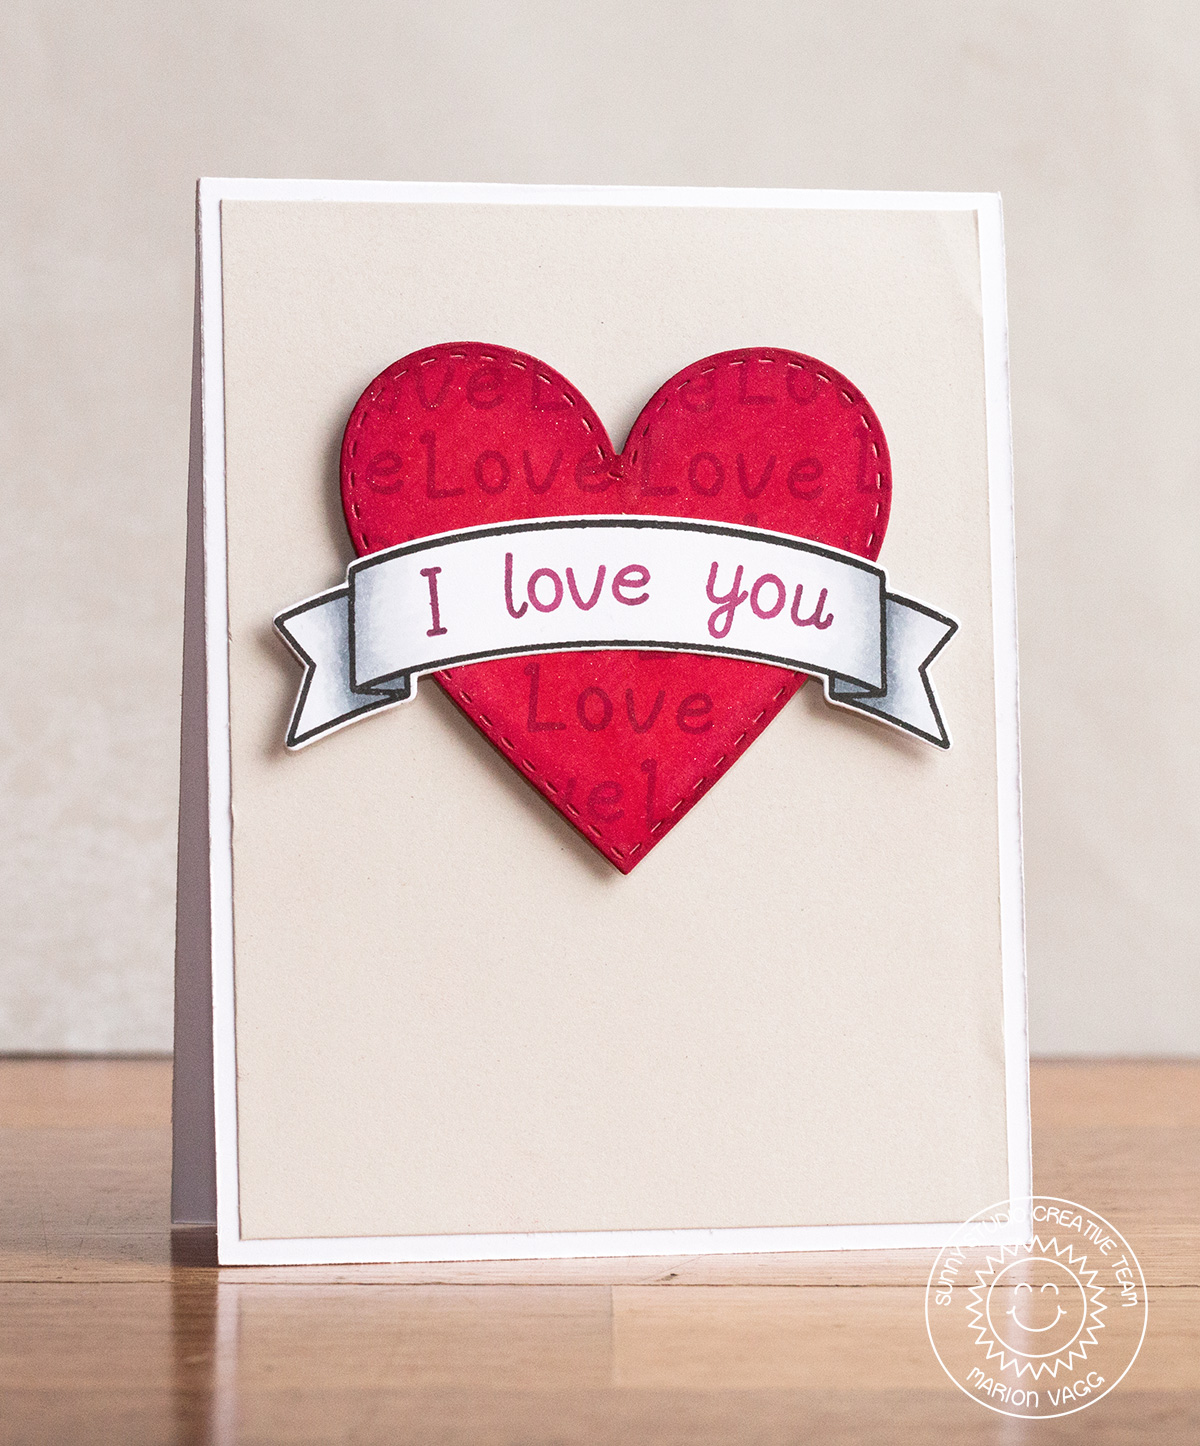
Anyway I have a new card up on the Sunny Studio blog. Rather clean and simple, but perfect for that someone special. I am loving the new stitched heart dies and I created my own sentiment with the Sweet Script stamp set. The banner is from the Sunny Border stamp set and it too has coordinating dies.

Sunny Studio - I Love You | Marion Vagg

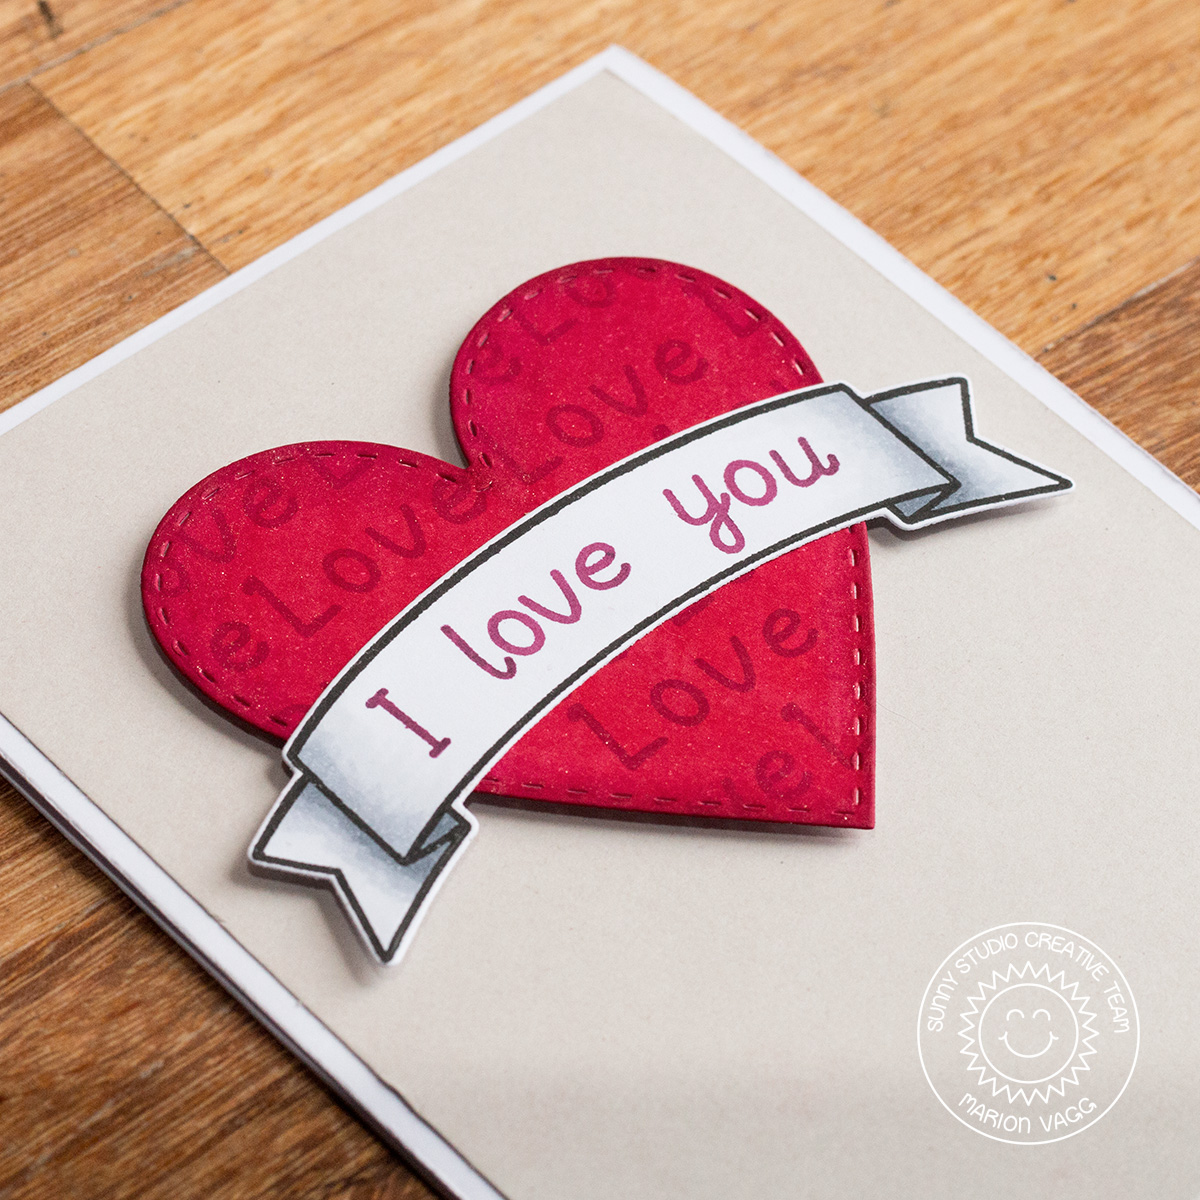
When I first made this card it looked very flat to me – something was missing. So I left it and walked away. I then had the idea to add some subtle shading with Copic Markers to the banner, and it was just what it needed – oh and the heart needed a coat of Wink of Stella as well!

Sunny Studio detail | Marion Vagg

Supplies

Stamps: Sunny Studio Sweet Script stamp set

Card: X-Press It Blending card, Co-ordinates card stock – Grey

Ink: Memento Tuxedo Black ink, Hero Arts Shadow Ink – Raspberry Jam, Distress Ink – Festive Berries

Other Supplies: Sunny Studio Sunny Border Die set, Sunny Studio Stitched Heart die, Cuttlebug, Copic markers,  Blending tool, Foam dimensionals, Wink of Stella glitter brush pen (clear)

Thanks for stopping by,

Marion

Read More

Hello – Sunny Studio

Hello. I hope you are having a great day. I’m popping in to share two cards that are also over on the Sunny Studio blog. These cards use the Backyard Bugs stamp set – another fun and cute set to create with.

I’ll be honest with you here – this first card took me about 5 attempts! I had an idea and it took me a little longer than I had hoped to get there. But get there I did. I must be getting old!
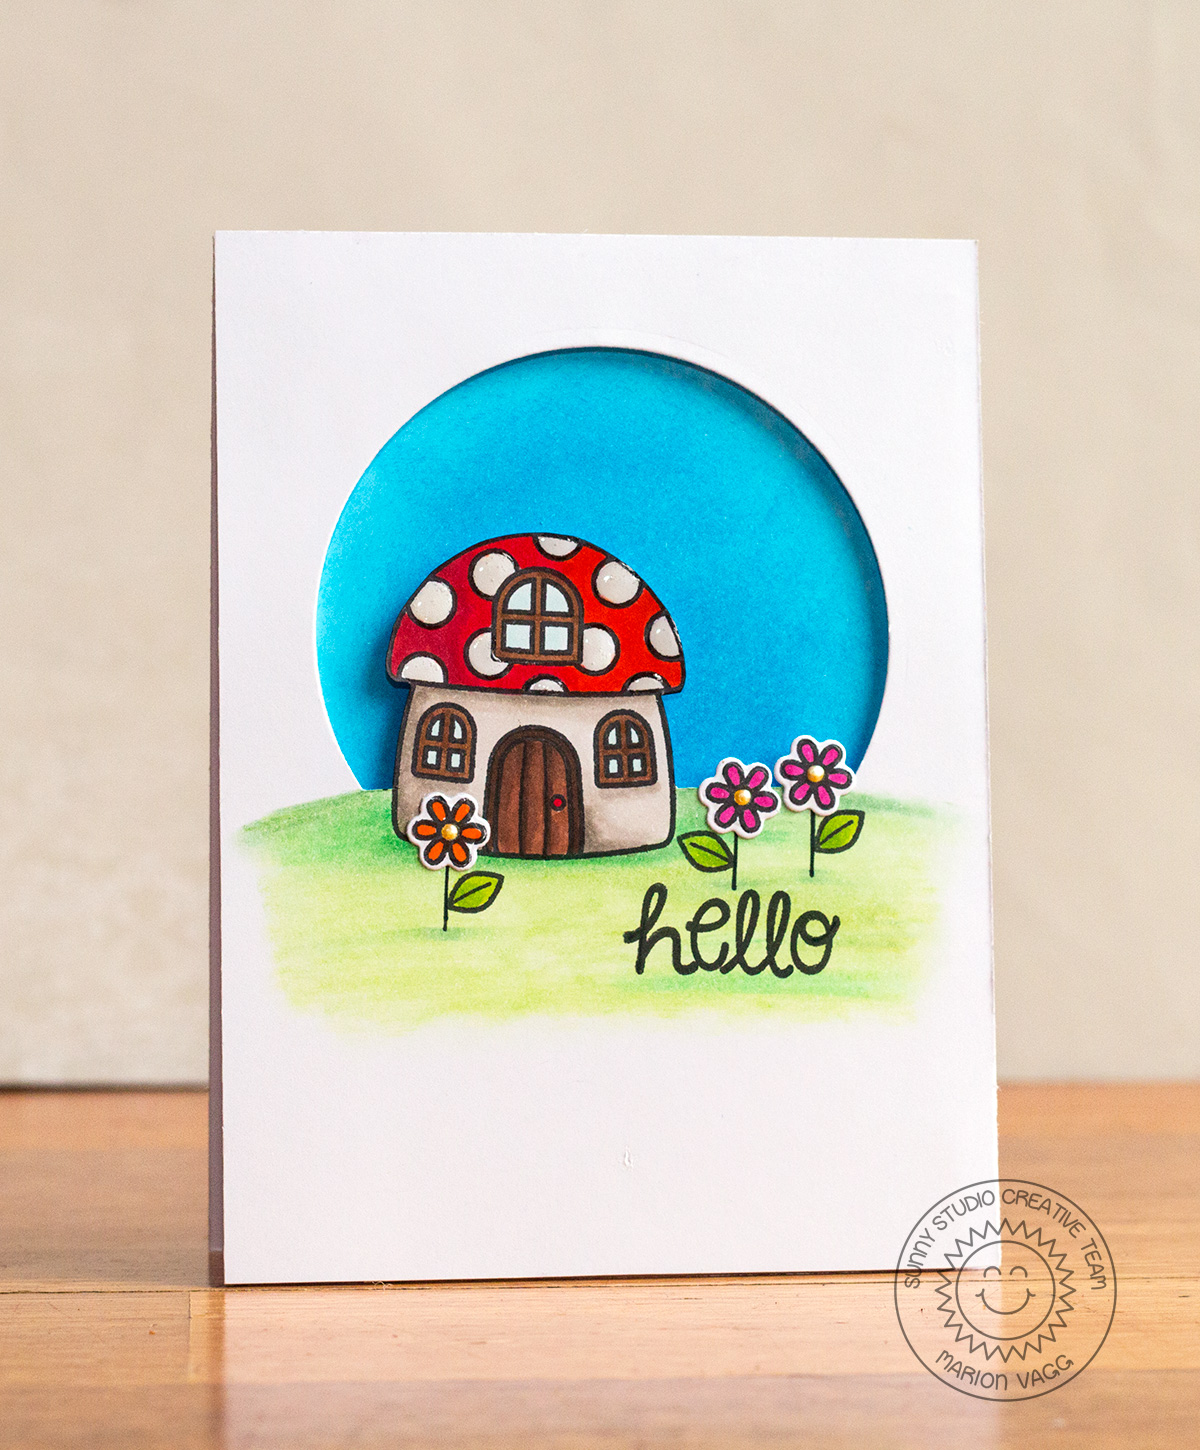
To start with a partially die cut a circle (leaving the bottom of the circle uncut). Next, with some stamping and masking, I stamped my little scene. From there, I used my scissors and cut around the toadstool house to create the cut-a-way section. I blended in some ink on the base card with Salty Ocean distress ink and then popped the front panel up with some 3D mounting foam. Easy! (Hindsight is a wonderful thing!)

SS Hello | Marion Vagg

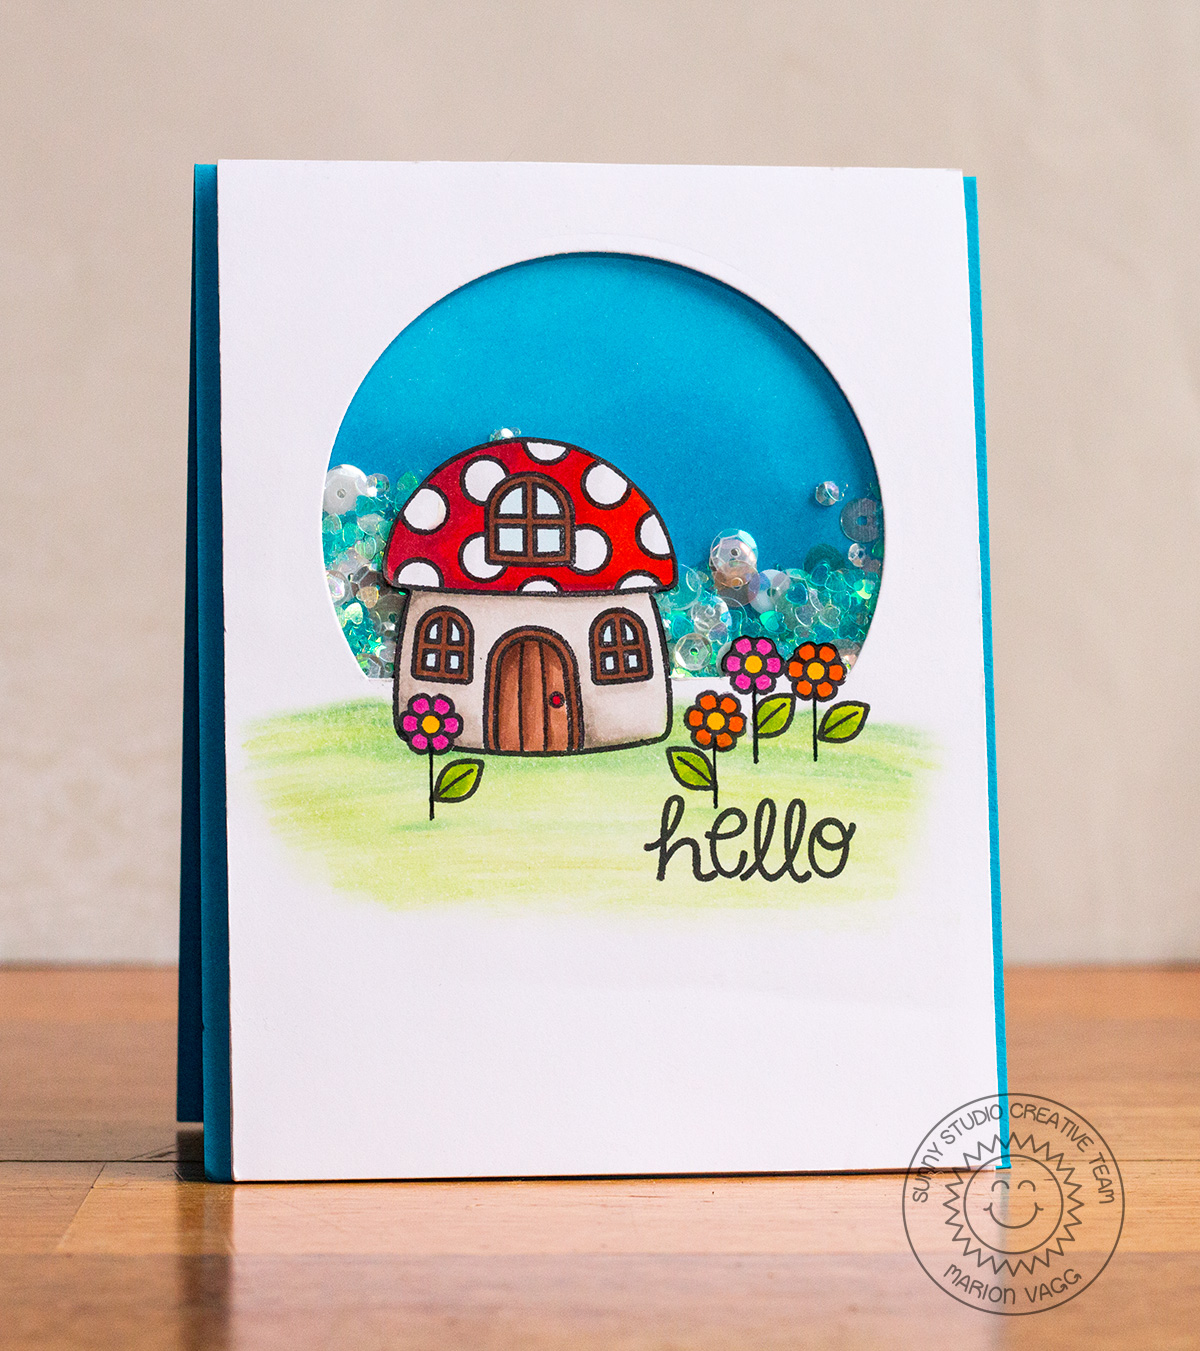
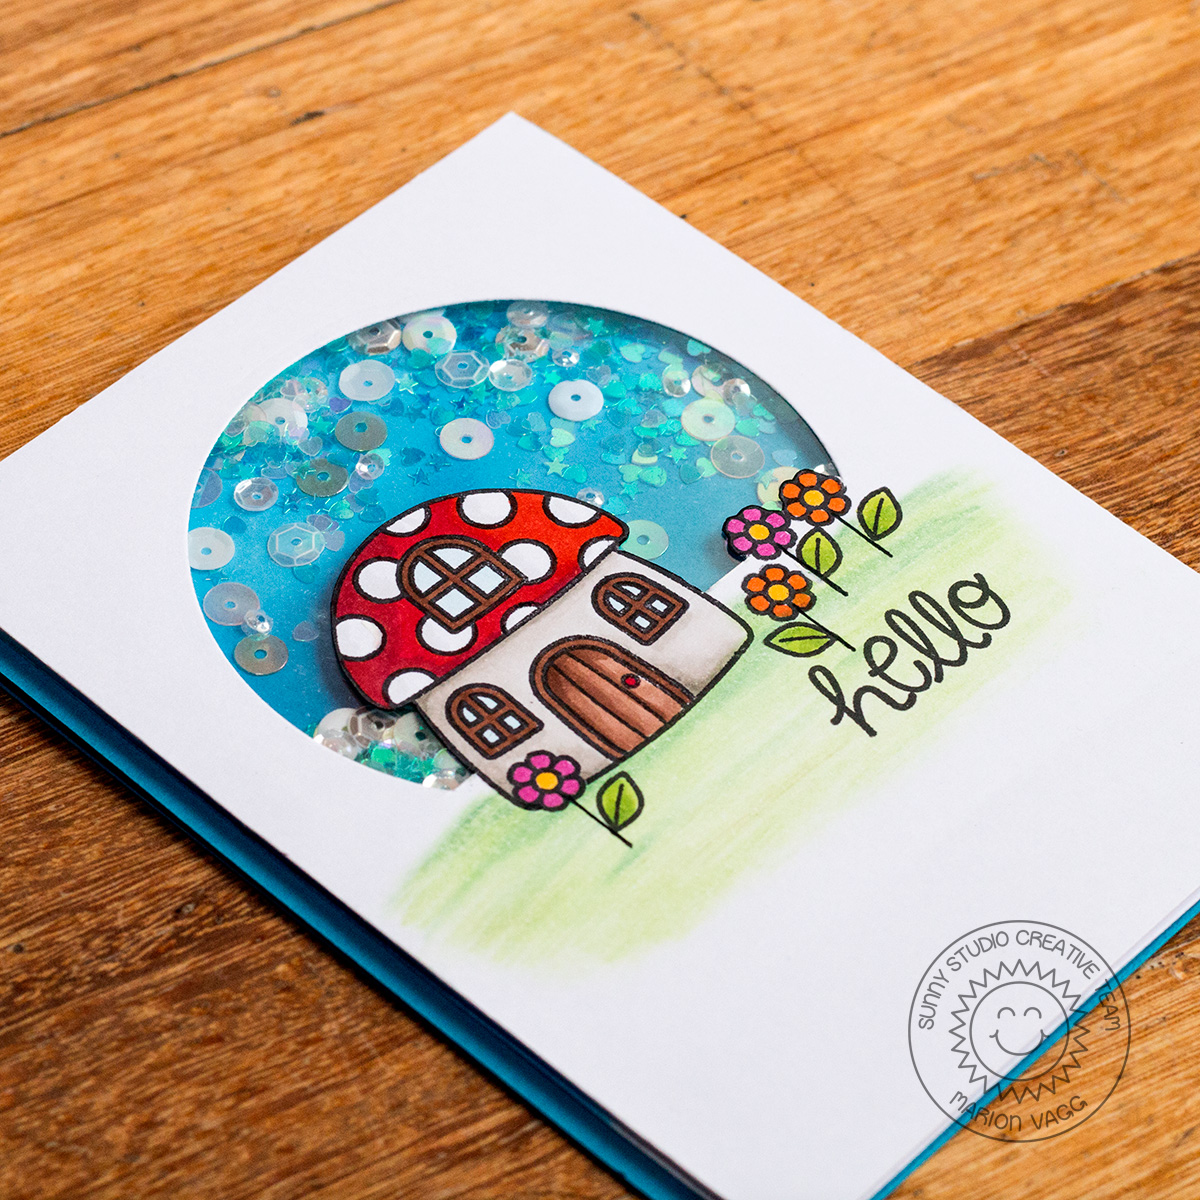
The next card is pretty much the same, except I stepped the process up and created a shaker card.

SS Shaker hello | Marion Vagg

SS Shaker hello detail | Marion Vagg

Which one do you prefer? We are divided in my house. My husband likes the first one better, but my daughter loves the shaker card!

Supplies

Stamps: Sunny Studio Backyard Bugs stamp set

Card: X-Press It Blending card, SSS blue card stock (Audrey blue)

Ink: VersaFine – Onyx Black ink, VersaFine Onyx Black ink, Distress ink – Salty Ocean

Other Supplies: Copic markers, Prismacolor pencils, Gamsol, Blending tool, Foam dimensionals, Spellbinders Circle die, Cuttlebug, Sunny Studio Backyard Bugs die, Various sequins (Simon Says Stamp, Martha Stewart), Ink blending tool

Thanks for stopping by,

Marion

Read More